
How to Set Up Campaigns in Remindlo
Configure when your reminders send, what they say, which channels they use, and who gets enrolled.
Contents
A campaign in Remindlo is a rule that says who gets a message, when it goes out, and what it says. Once a campaign is running, you do not touch it again - it keeps sending as your contacts and appointment dates move.
This guide covers the full setup. If you just want to know what to send and why, start with the use cases: reducing no-shows, post-visit thank-you notes, review requests, and reactivation.
You already have three campaigns
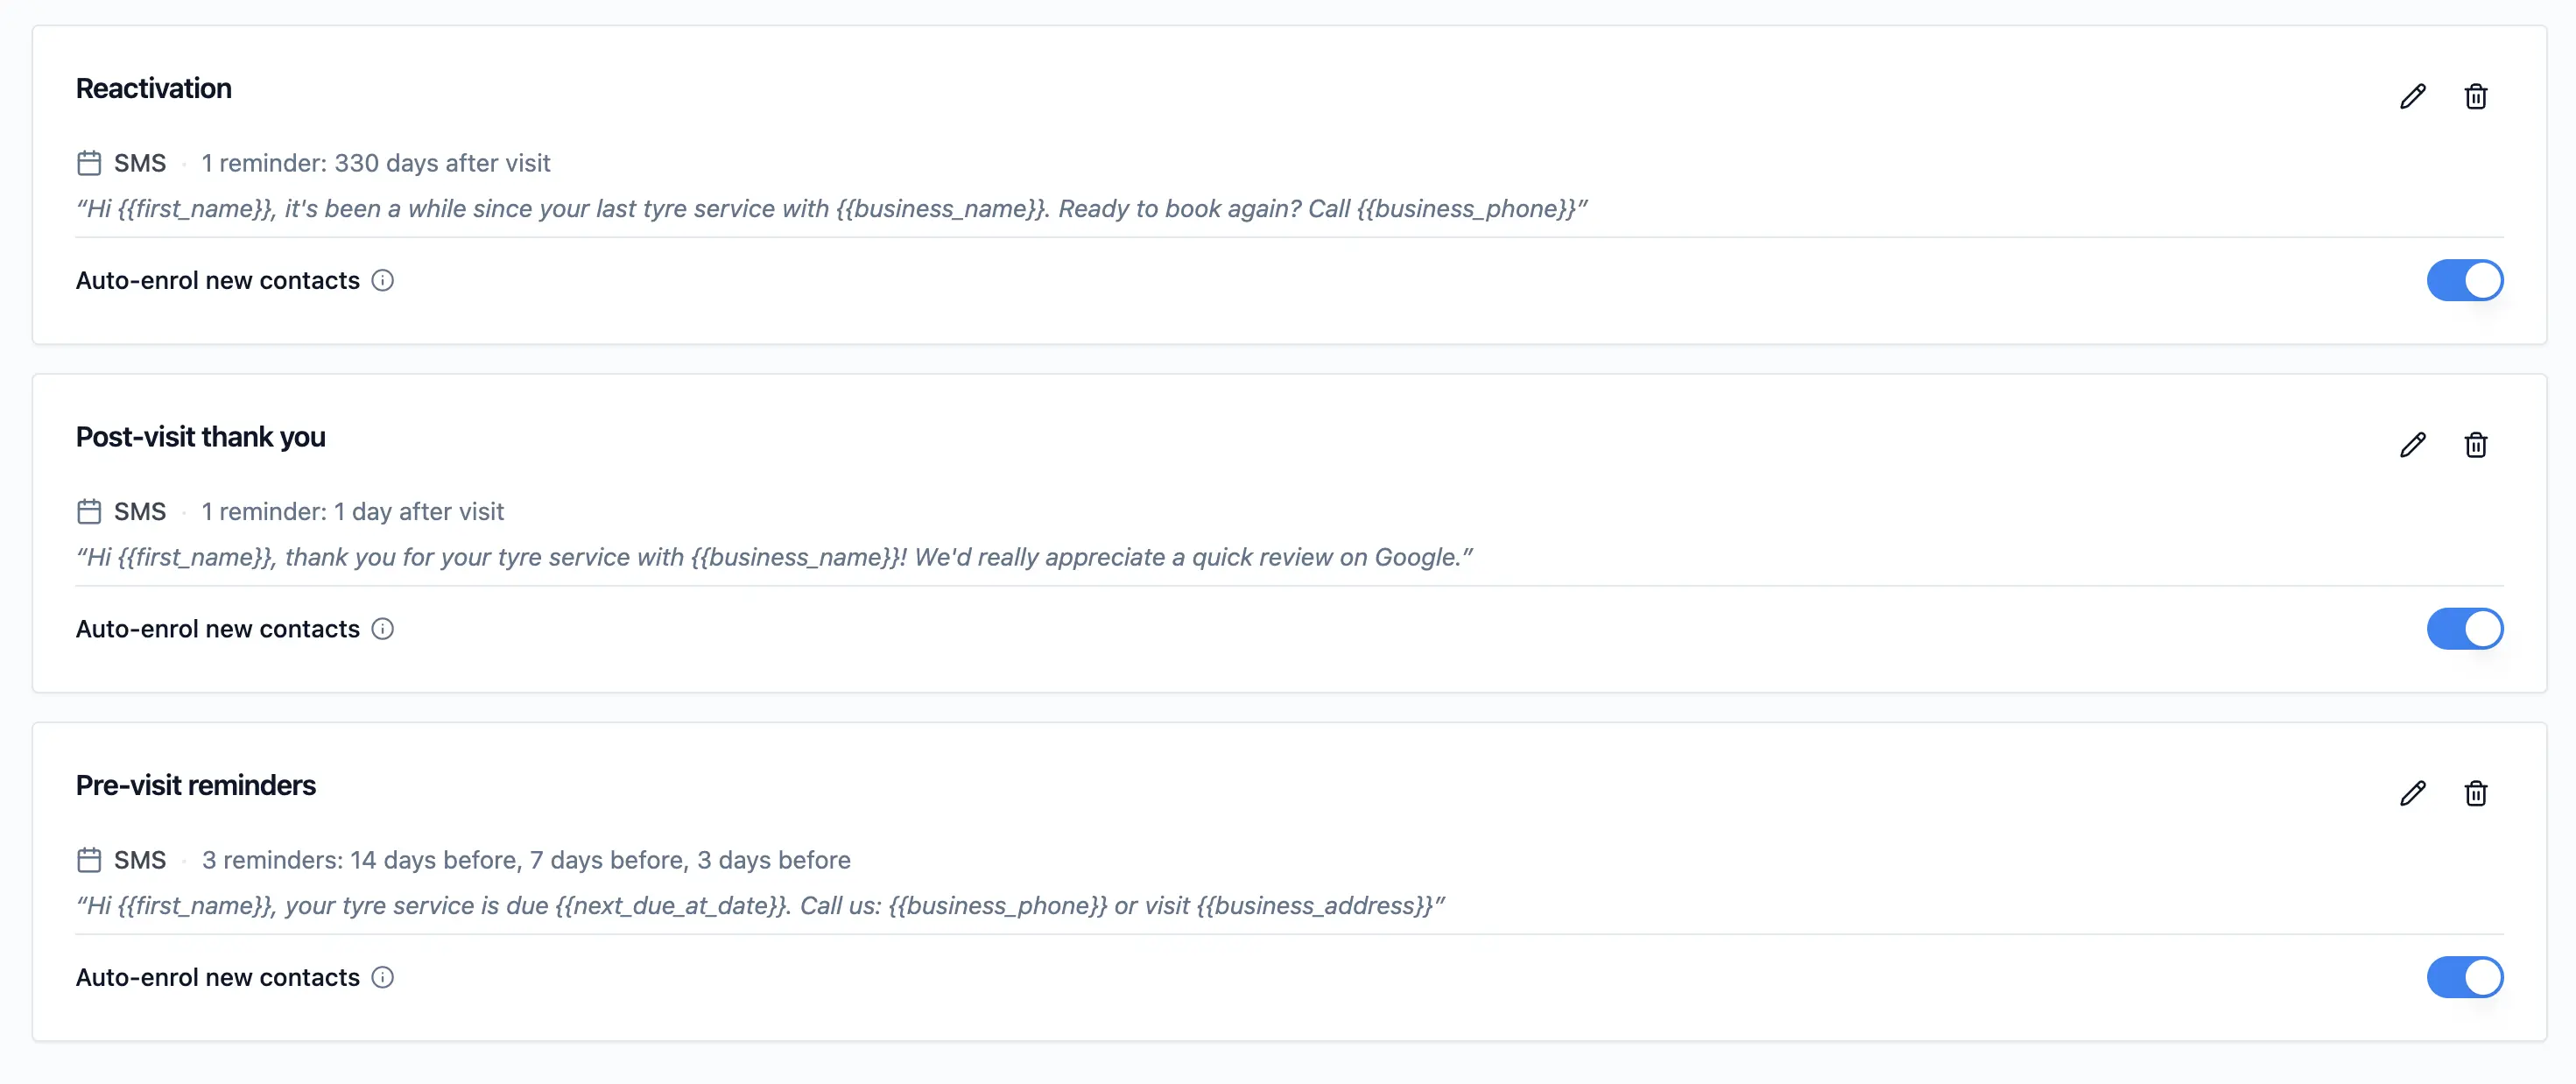
When your account was created, Remindlo set up three campaigns for your industry. They cover the whole customer journey, and they are ready to run as they are:
Campaign | When it sends | What it does |
|---|---|---|
Pre-visit reminders | A few days before the appointment | Keeps the slot filled and gives customers time to reschedule |
Post-visit thank you | The day after the visit | Thanks the customer and asks for a review while the visit is fresh |
Reactivation | Weeks or months after the last visit | Invites customers back before they drift to a competitor |
The exact timings depend on your industry - a beauty salon gets a much shorter reactivation gap than a dental practice. You can change any of them.
Step 1: Open your campaigns
Go to Campaigns in the dashboard. Each card shows the campaign name, its status, its reminder timings, and how many contacts are enrolled.
Click a campaign to edit it, or use New campaign to add one of your own.
Step 2: Set the timing
This is the part that decides everything else. Each campaign holds a list of reminders, and every reminder is anchored either before the appointment or after the visit:
Before the appointment - counts back from the contact's next service date. "3 days before the appointment" goes out three days ahead of the booking.
After the visit - counts forward from the contact's last completed visit. "1 day after the visit" is your thank-you window; "60 days after the visit" is a reactivation nudge.
A single campaign can mix both. Add as many reminders as you need - a common pre-visit pattern is 7 days, 3 days, and 1 day before.
Two or three reminders per appointment is the sweet spot. More than that and customers start tuning them out.
What each direction needs to fire
Reminders only send when Remindlo knows the date they are anchored to:
Before the appointment needs a next service date on the contact. You set this when you add a contact, import a CSV, or connect a calendar.
After the visit needs a completed visit on record. This is filled in automatically when you sync a calendar (Google Calendar, iCloud, or any iCal feed), when a recurring contact rolls over to its next date, or when you set it through the API.
If your post-visit and reactivation campaigns are quiet, this is almost always why: the contacts have a future booking but no recorded past visit yet. Connecting a calendar is the quickest fix.
Step 3: Choose the message
Each campaign uses a template. Your account comes with industry-specific wording already written, and you can edit it or write your own in Templates.
Variables are replaced per contact when the message is sent:
Variable | What it inserts |
|---|---|
{{first_name}} | Customer's first name |
{{last_name}} | Customer's last name |
{{next_due_at_date}} | Next appointment date |
{{last_service_at_date}} | Date of the last visit - useful in after-visit messages |
{{business_name}} | Your business name |
{{business_phone}} | Your contact number |
{{business_address}} | Your location |
Keep SMS under 160 characters where you can - longer messages are split into multiple segments and count as more than one SMS against your allowance.
Step 4: Pick the channels
A campaign can send by SMS, email, or both. When both are enabled, each contact gets the message on every channel you hold a detail for - a contact with a phone number and an email address receives both.
Email is included on every plan, including the free one. Only SMS counts against your allowance.
Step 5: Decide who gets enrolled
Every campaign has an Auto-enrol new contacts switch. When it is on, new contacts are added to that campaign automatically - however they arrive:
Synced from a connected calendar
Added by hand in Contacts (the campaign is pre-ticked, and you can untick it)
Imported from a CSV or scanned from a paper diary
Created through the API or an integration such as Zapier
Turn auto-enrol off for a campaign you only want to use selectively - you can still add contacts to it manually. If every campaign has auto-enrol off, new contacts arrive with no messages scheduled, and the dashboard will flag it. Be deliberate about switching it off: across our own accounts, a campaign with auto-enrol on reaches 69.8% of the customers who had a visit, and a campaign with it off reaches 0.6%. We counted the cost of that in review requests that never reach a customer.
Step 6: Set the send time
Each campaign has a send time - the hour of day its reminders go out, in your business time zone. Late morning or early afternoon works well for most service businesses.
Step 7: Test it, then leave it alone
Add yourself as a contact with your own mobile number and a next service date a few days out.
Enrol yourself in the campaign you want to check.
Confirm the scheduled reminder appears on the contact, and that the message reads the way you want once the variables are filled in.
After that, the campaign runs on its own. Every message sent is listed in Messages with its delivery status.
Troubleshooting
A campaign is not sending anything
Check the campaign status is running, not paused or draft.
Check contacts are actually enrolled - the campaign card shows the count.
Check the anchor date exists: a next service date for before-the-appointment reminders, a recorded past visit for after-the-visit reminders.
Check the contact has consent to receive messages, and has not replied STOP.
Reminders arrive at the wrong time
Check your time zone in Settings and the campaign's send time. If a scheduled send falls inside your quiet hours it is held until the next allowed window.
Customers get too many messages
Remember that a contact can be enrolled in more than one campaign. Open each running campaign and check the reminder list rather than adding a new campaign for a change of timing.
Frequently asked questions
How many campaigns can I run?
As many as you like. By default, your account starts with three - pre-visit, post-visit thank-you note/review requests, and reactivation campaigns.
Can I run different campaigns for different services?
Yes. A common setup is one set of campaigns per service type - for example check-ups and treatments - each with its own timing and wording. Enrol contacts in whichever fits.
Do I have to use the three campaigns I was given?
No. Edit them, pause the ones you do not want, or build your own from scratch. Most businesses start with all three and adjust the timings after a few weeks.
What happens if a customer cancels?
Their next service date is cleared and any pending before-the-appointment reminders for that booking are removed automatically.
Does a campaign send to the same person twice?
Each reminder in a campaign sends once per appointment cycle. When a new date is set - a new booking, or a recurring contact rolling over - the schedule starts again.
Next steps
Open Campaigns and check the timings on the three you already have.
Connect a calendar in Integrations so both appointment dates and completed visits fill in on their own.
Send yourself a test reminder before you switch it on for everyone.